
Java, Javascript 등 다양한 개발 환경에서 사용하는 언어를 실행할 프레임워크, 툴을 설치하는 과정입니다.
VSCode는 대체로 Frontend 개발 환경에서 자주 쓰는 툴이자 프레임워크로 Visual Studio보다는 가볍다는 특징이 있습니다.
VSCode 설치하기
개발을 진행할 텍스트 에디터(Text Editor)이자 코드 편집기를 설치하는 과정입니다.
1. Visual Studio Code 공식 사이트로 접속하여 OS에 맞게 Installer를 다운로드합니다.
Download Visual Studio Code - Mac, Linux, Windows
Visual Studio Code is free and available on your favorite platform - Linux, macOS, and Windows. Download Visual Studio Code to experience a redefined code editor, optimized for building and debugging modern web and cloud applications.
code.visualstudio.com
제 개발 환경은 Windows 11 x64 환경으로 다운로드된 Installer의 파일명은 'VSCodeUserSetup-x64-1.73.0.exe' 였습니다.
2. 다운로드된 Installer를 클릭하여 프로세스에 맞춰 설치를 진행합니다.

저의 경우 다른 추가 옵션 선택 없이 Default로 설정된 항목에 대해서만 설치하였습니다.
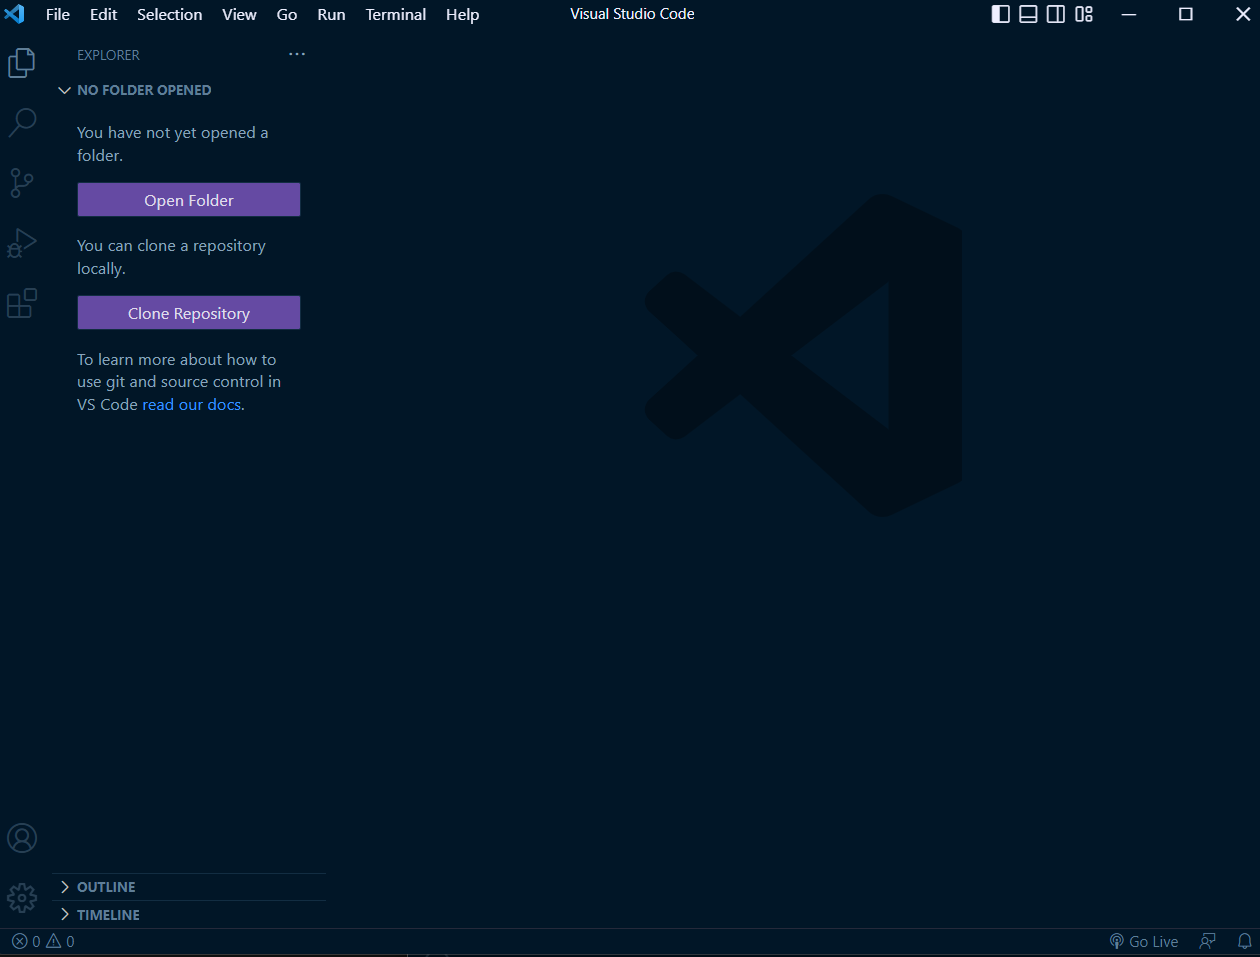
3. 설치된 VSCode(Visual Studio Code)가 정상적으로 활성화되는지 확인합니다.

'Programming > Etc.' 카테고리의 다른 글
| VSCode에서 Java 코딩 테스트 환경 구축하기 (0) | 2023.03.21 |
|---|---|
| JDK(Java Development Kit) 설치하기 (0) | 2023.03.20 |
| 마크다운(Markdown:md) 특징 및 사용 방법 (0) | 2023.03.10 |
| "Cloud Agent Error: Can not send requests to localhost. Select a different agent." 오류 해결 방법 (0) | 2023.01.30 |
| 인텔리제이(IntelliJ)에서 콘솔(Console)에서 Log color가 적용되지 않는 문제 해결 방법 (0) | 2023.01.20 |


댓글